Any musician or audio engineer knows that microphones are crucial. For professional recordings and live performances, a decent microphone is essential.
If correctly set up, even the greatest mics sound good. This article teaches you how to optimize your microphone’s sound. These recommendations will ensure high-quality recordings and live performances.
Locate The Microphone
A well positioned microphone is the first step to a superb sound. Depending on the mic this might entail placing the mic near enough to your sound source (e.g. voice or instrument) to pick up the sound without amplification. It should also be angled to reduce noise and reverberation.
In a space with poor acoustics foam panels and bass traps may lessen echoes and other reverberations that can lower sound quality. Microphone sound quality may be significantly improved by experimenting with angles and locations.
Windscreens And Pop Filters
Vocal recordings need pop filters to decrease plosives (sounds like “p,” “b,” “t,” etc.) that distort. Outdoor recordings benefit from windscreens to reduce wind noise. Never record with dusty pop filters or windscreens; the microphone may pick up undesired noises.
Additionally, mount pop filters and windscreens to the microphone stand or clip for optimal performance. These accessories will make your recordings sound professional, clear, and noise-free.
High-quality Cables
Low quality wires may degrade audio recordings. Use well shielded wires to minimize outside interference induced humming and buzzing.
Avoid very lengthy cords which might degrade transmission. If you need longer wires choose ones with more robust shielding. Ensure your microphone cords are firmly inserted into the microphone and audio interface.
Secure your connections and remove dust and corrosion which might cause hissing or static. Avoid adaptors which reduce audio quality and increase noise. Buying the correct microphone cables enables you to capture clean professional audio without problems.
High Quality Preamps
Preamps boost microphone signals before sending them to a recording medium. High quality preamps provide richness and clarity to microphone sound giving mic recordings depth and texture that might otherwise be lost when recorded straight into a computer or interface.
Using a preamp lets you modify gain levels to get the optimal noise to signal ratio. Preamps are pricey but they’re worth it to maximize microphone performance.
Before buying a recording preamp, investigate the various kinds. With a good preamp your microphone will sound better and catch sounds more clearly.
Consider Room Acoustics
Recording quality is greatly affected by room. Every space has different acoustics, which may improve or degrade microphone sound. To optimize room acoustics, use acoustic foam to absorb sound reflections and minimize echoes.
Recording in a room with concrete or wood can give your mic a more natural resonance. Using your room’s acoustics may also improve the sound of your recordings.
Adjust Mic Volume And Sensitivity.
Your microphone may have adjustable sensitivity and loudness. Condenser mics may be adjusted for gain to increase or decrease sensitivity.
Dynamic microphones also have a volume knob to regulate the output level. Adjusting these parameters may improve microphone sound.
Lower the gain or volume if your mic picks up too much background noise. Increase these settings if the mic doesn’t pick up enough of your sound. Software like your computer’s sound settings may be used to alter the microphone’s input volume in addition to the microphone’s settings.
To avoid distortion, don’t raise the gain or loudness too much. You must experiment to get the ideal microphone settings for every occasion. However, tweaking these fundamental settings usually improves microphone sound.
Use Polar Style
Many microphones have polar patterns, which absorb sound. Polar patterns vary per mic, such as cardioid (which concentrates on the front) or omnidirectional (which absorbs sound from all directions). Selecting the correct polar pattern significantly improves sound quality.
Consider an adjustable-polarity microphone for switching settings. Cardioid is optimal for voice recording. Some noises may still leak in from the sides; if this is an issue, use an adjustable polarity microphone or alternative polar patterns.
An adjustable-polarity microphone lets you pick up sound in the desired region and record just what you want. This helps record in loud environments. Choose an adjustable polar pattern for optimal results!
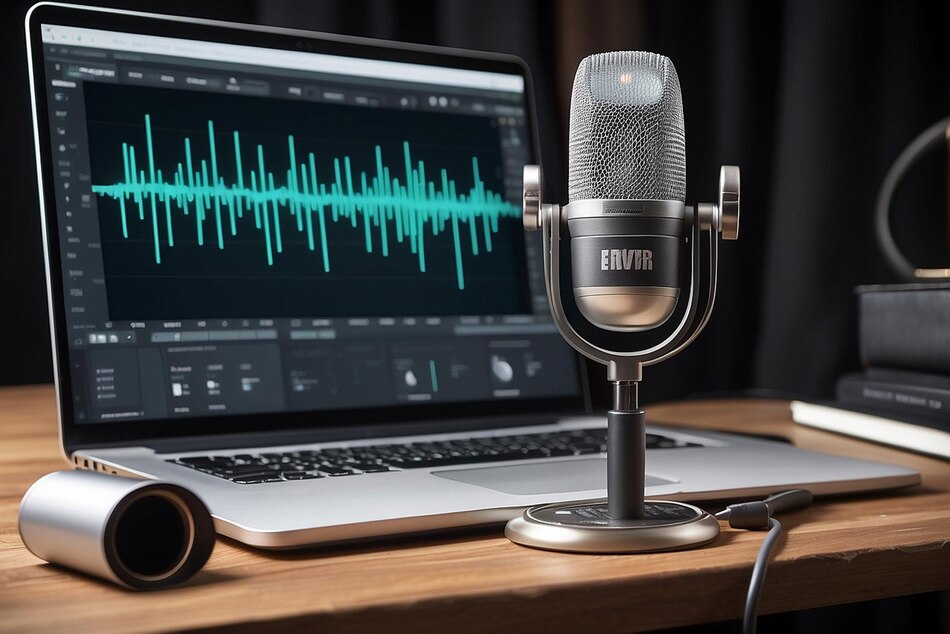
Make Sound Changes With Plugins
After setting up your microphone, proceed to the software. GarageBand and Pro Tools plugins improve microphone sound, and EQs, compressors, and hundreds of other plugins may enhance your sound in numerous ways. Please pay attention to plugin details, as they may affect your recordings subtly yet significantly.
Try various combinations to discover the best fit. Try sophisticated plugins, which may dramatically improve your microphone sound. Adjust levels as needed. Raising or dropping frequencies may improve the recorded sound. Even cheap microphones can provide outstanding sounds with the appropriate plugins and modifications.
Distance Matters
Consider distance for the best microphone sound. Depending on the mic, diverse distances may produce quite diverse sounds. Dynamic microphones are utilized for close-up recording, whereas condenser mics function better at a distance from the sound source.
If you are closer to a mic, it will catch more of your genuine speech tone and be louder. However, being too close to a mic may cause clipping or distortion, reducing sound quality. Better microphone sound requires balancing closeness and clarity.
As you try various distances, be sure the microphone captures clean, professional sound. Determining the best distance for your setup may take trial and error, but a fantastic recording will be worth it!
Reducing Noise Software
No matter how well you set up your mic, background noise might still exist. Fortunately, various techniques can decrease unwanted noise and improve audio clarity.
Noise reduction software works well for this. This program detects and removes background noise from audio recordings.
This technique can clean and professionalize audio signals and recordings. Noise reduction software may also reduce wind, traffic, and air conditioner hums to improve voice recordings.
Noise reduction software may make your recordings sound professional.