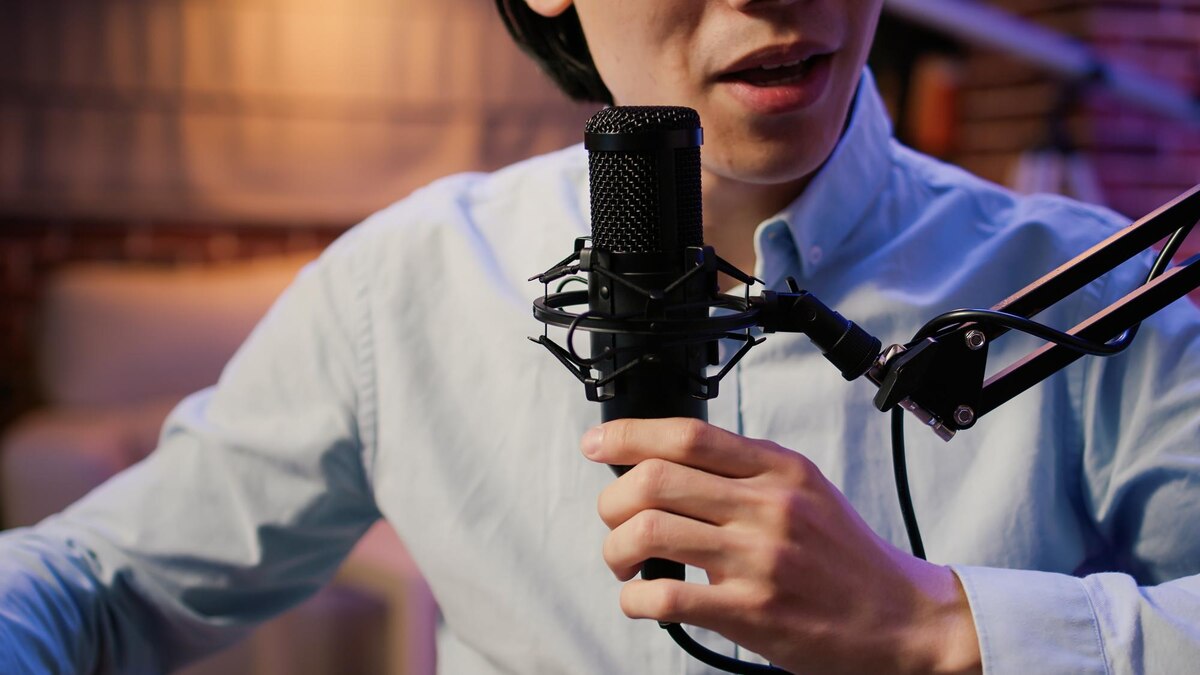
Microphones are necessary for recording sound in many places from home studios to professional studios. A full microphone test is essential to ensure your microphone is in good shape and can produce high quality sound.
This guide reviews the steps for a full microphone test such as getting ready and checking for sound quality compatibility, durability interference and frequency response. If you follow these steps you’ll be able to find and fix any problems with your microphone.
Preparation
Be sure that the microphone is in excellent condition and that it is correctly connected to the recording device before you attempt to do a test from the microphone.
First examine the microphone body paying particular attention to the cable and connections looking for any signs of damage or wear.
After connecting the microphone to the appropriate port on the computer audio interface or any other device you are using to record you can be confident that it will remain secure.
In addition ensure that the microphone is sturdy and positioned correctly on its stand or mount to prevent it from moving about or becoming shaky while you are testing it. One last thing to do is ensure that the location you are testing is calm and devoid of anything that could influence the results.
Testing For Sound Quality
To gauge how well your microphone sounds, record a small audio sample and listen attentively to it. Check the recording volume and clarity as well as any background noise or uncertainty.
Then adjust the microphone volume equalization and polar patterns to see how these adjustments alter the sound.
To determine how effectively the microphone performs you should record the sound in a variety of settings using a variety of voices and instruments. If you test its sound quality thoroughly your microphone can provide the high quality sound that you want for your projects.
Testing For Compatibility
To get the best results ensure your recording device and app are compatible with your microphone. Before anything else confirms that the recording device can see the microphone and is configured to function as a standard input device. Test the microphone with several recording applications to verify that it is compatible with the ones you like.
In addition check to see that any drivers or software your microphone requires is appropriately installed and up to date. Other devices such as a computer or a smartphone could test the microphone to guarantee that it is compatible with various operating systems.
Testing For Durability
If the microphone will be used in challenging environments or for an extended period it must be durable. When testing it it is important to touch it gently to determine its strength and how long it will persist. Verify that there are no damaged components or indications of usage such as frayed wires or dents.
If you softly tap on the microphone you may hear rattling noises.
This might indicate that the interior of the microphone is damaged. Your microphone could include a swivel base or a flexible stand. You should test these components to ensure they function correctly and won’t get damaged over time.
After conducting tests to determine how long your microphone will endure you can be sure it will continue functioning even after years of vigorous usage.
Testing For Interference
Interference from other electrical devices may make your microphone less effective resulting in unwanted noise or distortion in the digital recordings you create.
While the sound is recorded, move the microphone around to eliminate potential interference.
After that pay attention to any interference or noise that is not intended. The microphone should be carefully monitored in a variety of settings and circumstances as well as its proximity to other electrical devices.
You should either flip the microphone around or relocate it away from other devices to lessen the interference you are experiencing.
You can also use insulated wires or filters to lessen the amount of electromagnetic radiation and enhance the overall performance of the microphone.
Testing For Frequency Response
Noticeable sound waves from low bass frequencies to high treble frequencies are reproduced by your microphone. This is called its frequency response. To check your microphone frequency response do the following
- Make sounds with a frequency generator with different frequencies then record the microphone reaction.
- Pay close attention to the recordings and examine how the microphone handles low mid and high frequencies. Also look for any peaks or dips in the frequency response curve.
- Pay attention to how clear and well balanced the tones are generally as well as any coloring or distortion that might be there.
Conclusion
You must provide a full test to ensure that your microphone gives you the high quality sound you need for your projects.
If you follow these tips and try your microphone for distortion frequency response, sound quality compatibility and longevity you can find and fix any problems.
Testing your microphone regularly will help you keep it working well and reliably over time ensuring it meets your needs and gives you professional quality sound for your shows and records.
